We like to get a little crafty around here, and I knew that I would want to get my hands dirty in a lot of projects. So early on, we rolled up our sleeves and talked about what we would and would not DIY. Food is very important to me (as well as real china, service, glassware ect) so that is something we will NOT be DIYing. However, we have DIYed the invites, favors, napkins, purses, and the bridesmaid's jewelry among other things.
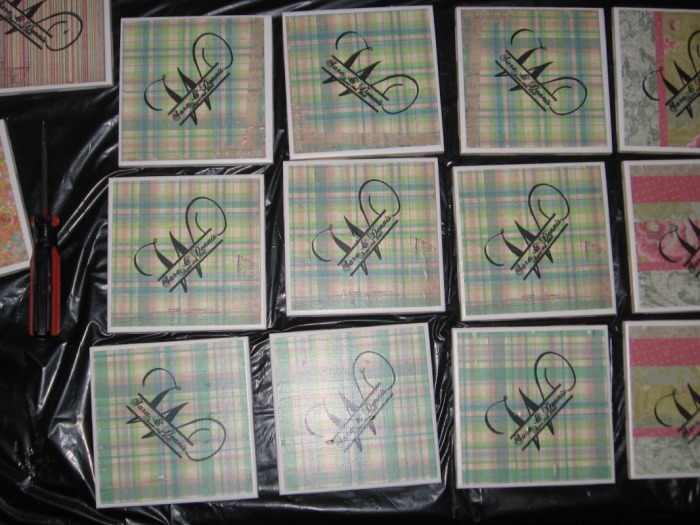
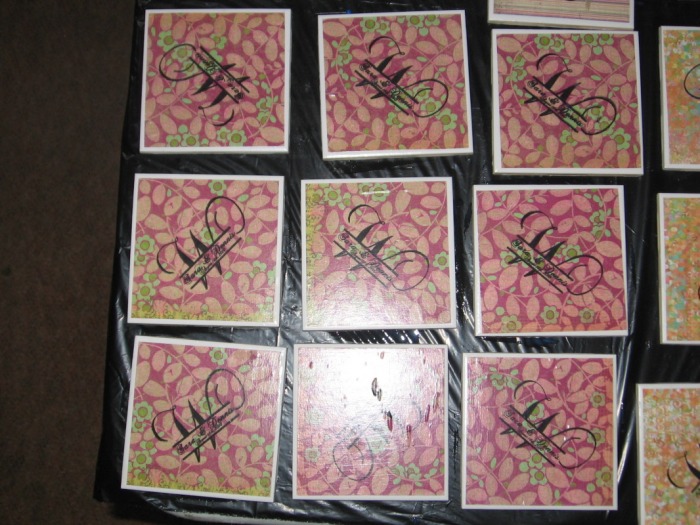
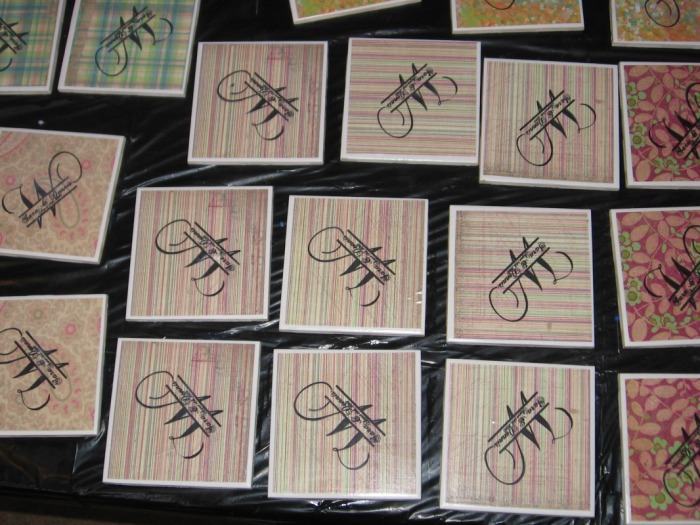
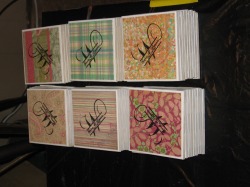
Favors- Coasters
This idea was inspired by another Knottie, The Salty Peanut when I cam across her bio on the DIY board. She gives a great tutorial on how to do it too! I also used her bio to inspire my bridesmaid's gifts (the wine glasses seen below) However, instead of using craft foam and gorilla glue on the back, I used kitchen counter foam (used to keep things from sliding) and clear silicon caulk.
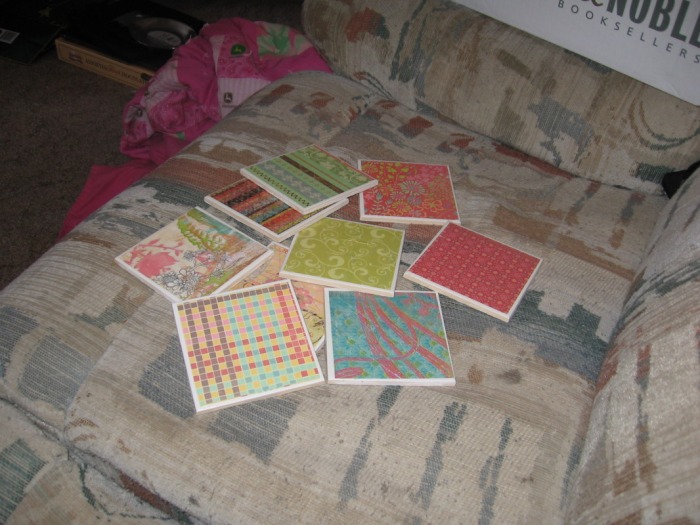
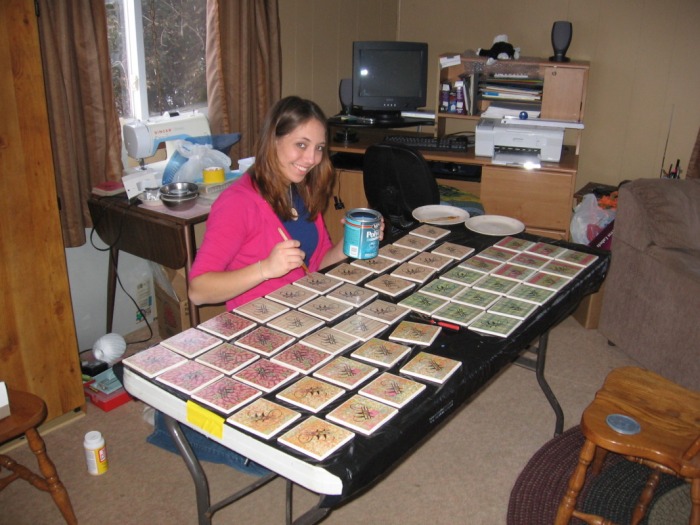
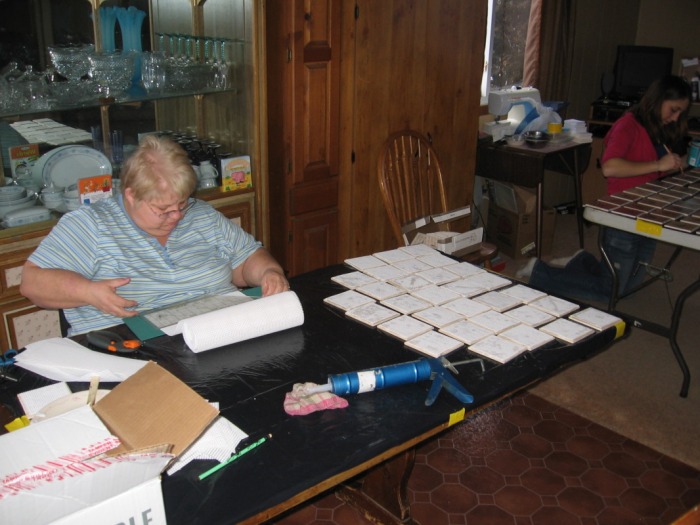
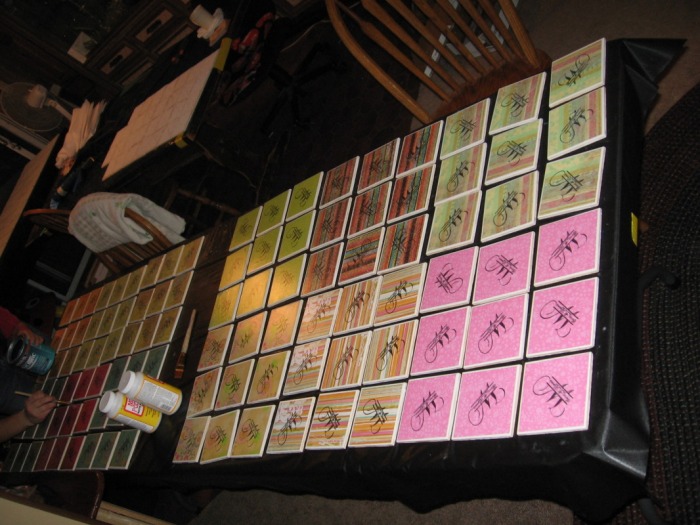
I found this project to be one of the hardest, but most fun and rewarding. I am very proud to say that the whole family got involved in helping on this one. I picked up the tiles while visiting my parents (they live in a bigger city) and actually completed the the project with DJ's family and my aunt Liz.
I found this project to be one of the hardest, but most fun and rewarding. I am very proud to say that the whole family got involved in helping on this one. I picked up the tiles while visiting my parents (they live in a bigger city) and actually completed the the project with DJ's family and my aunt Liz.
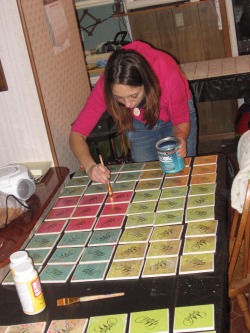
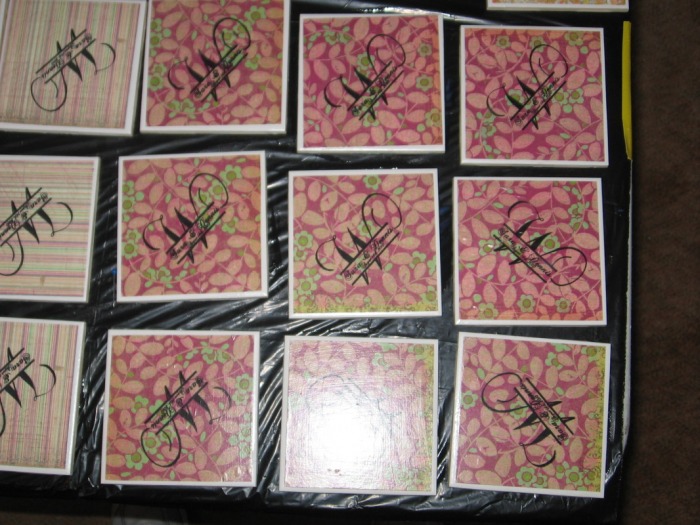
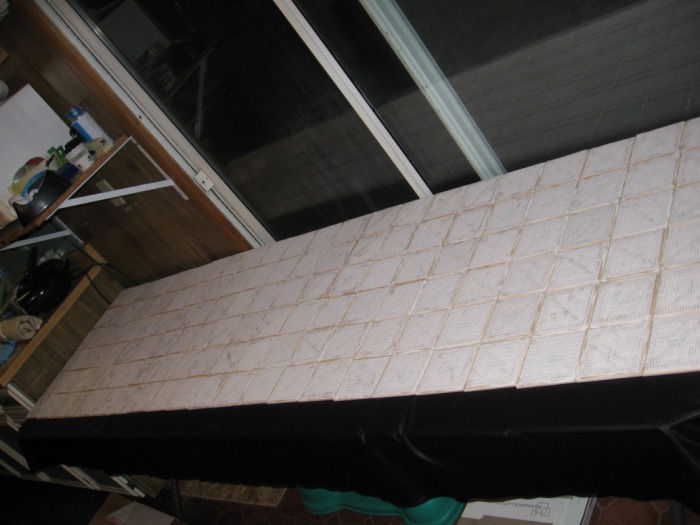
We did half the coasters with our custom stamp and half without. Dj's poor dad brought in a bunch of long white tables for us to work on and it took over the living room, dinning room, and computer room!!! DJ, his mom, and our friend Lanae were in charge of putting the backing on the tiles. Meanwhile, my aunt Liz and I used mod-podge and minwax to adhere to 4x4 pieces of scrapbook paper.
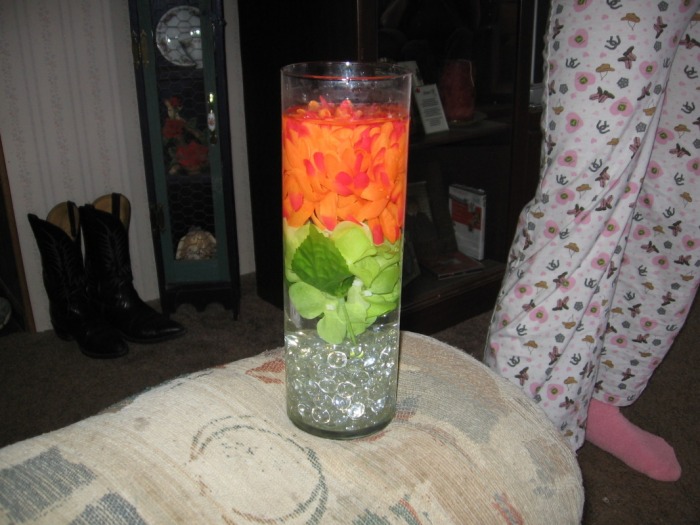
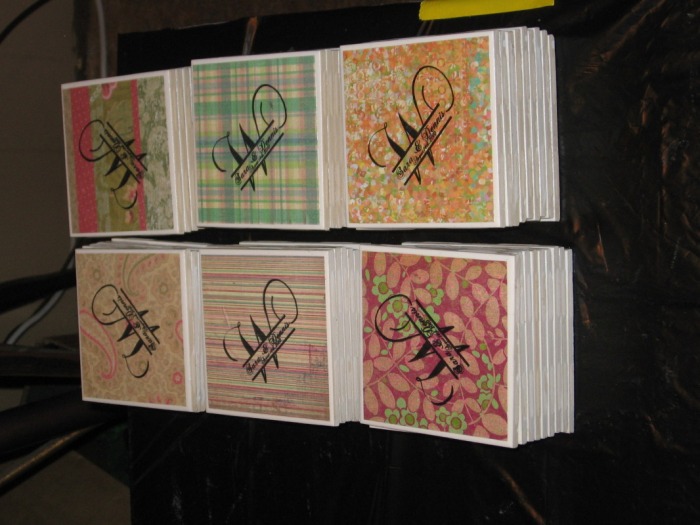
We will be giving away 2 coaster per person (one stamped, one not). We also purchased 30 12x12 tiles. We cut paper so that nine 3 3/4" squares would "quilt" on. Only one stamped piece of paper on those. They turned out really cool and will be the base of our center pieces.
We will be giving away 2 coaster per person (one stamped, one not). We also purchased 30 12x12 tiles. We cut paper so that nine 3 3/4" squares would "quilt" on. Only one stamped piece of paper on those. They turned out really cool and will be the base of our center pieces.
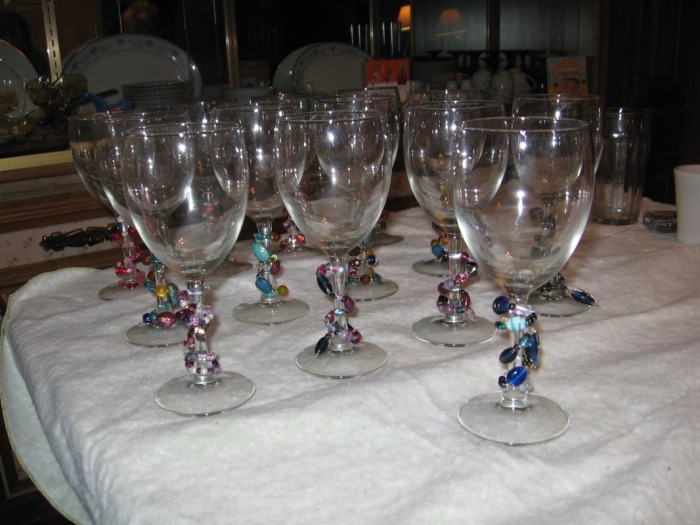
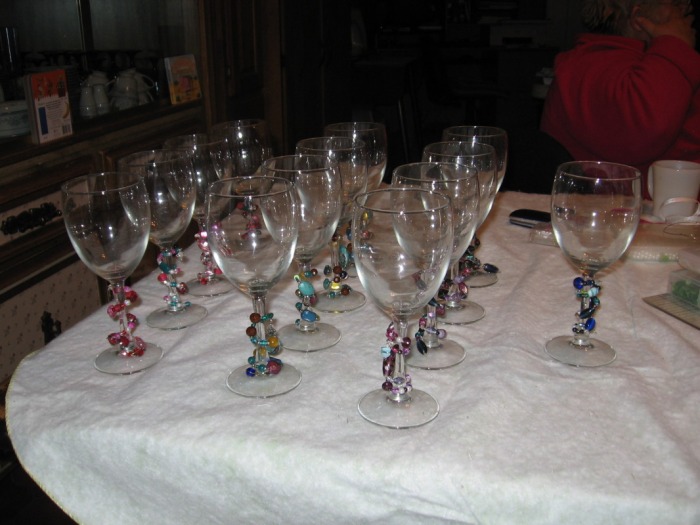
Bridesmaid's Gifts- Wine glasses
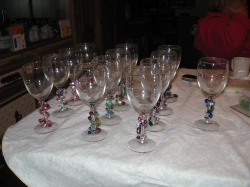
This was a FUN project, and easy too! I bought these wine glasses on sale the day after thanksgiving for $15 for 16 of them. Then my Aunt, DJ's mom, and I went to the mall and searched through racks of funky beaded necklaces. We found our luck at Maurices. We left there with several necklaces/braclets and went home and had the boys (aka DJ, Geoff and Dj's dad) help us take them apart.
Then we simply started going to town using a piece of wire about a foot long. When we had a strand long enough we wrapped it around the stem of the glass. Each girl (except my younger sister) will receive a set of four. You can see in the picture that each set was destined around the her personality.
Then we simply started going to town using a piece of wire about a foot long. When we had a strand long enough we wrapped it around the stem of the glass. Each girl (except my younger sister) will receive a set of four. You can see in the picture that each set was destined around the her personality.
Napkins

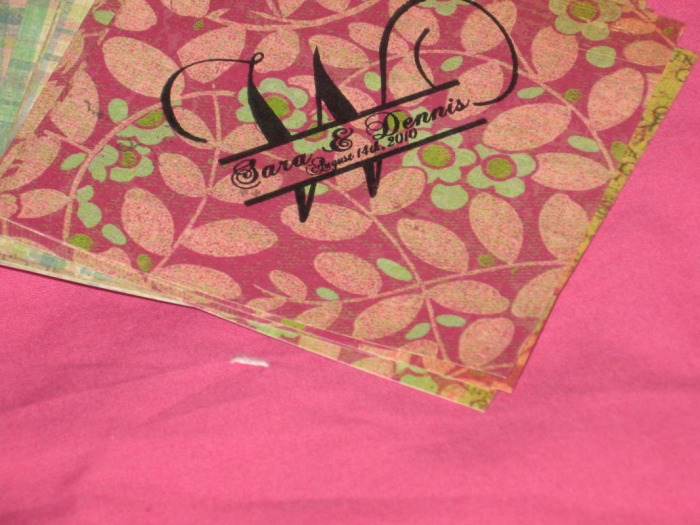
This was yet another idea I got from The Salty Peanut. I'm telling you this gal is full of great ideas. I don't have a picture of this project, yet (shown: paper from coaster project). But basically I bought square napkins from Walmart in pink and white, and Kmart in lime green. (I bought about 400) and I used our custom stamp (bought off Etsy here). It was pretty easy, but my hand did get tired. But honestly It took me like 2 hours, that's it. And I had the stamp any how, so it saved me lots of money. I highly recommend the StazOn ink. I used black, because a friend had it already. But I think a silver would be really cute. I do recommend buying a refill bottle, especially because I used it for the coasters, invites, and napkins (and those napkins suck up a lot of ink!)
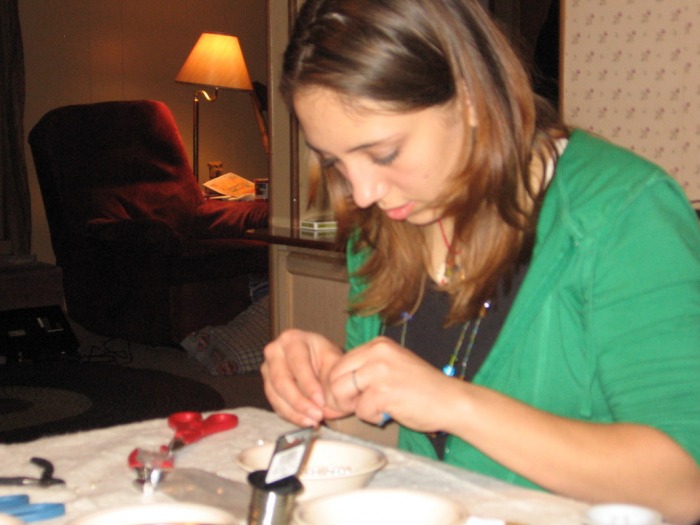
Bridesmaids Jewelry- Pearl Necklaces
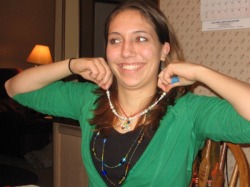
(please excuse this horible picture, I will upload better ones soon, I promise. This one is with out the attached tying ribbon) This was another EASY as fun project. I simply bought glass pearl beads (lots) some silver findings, some crystals (small), beading wire, ribbon, and crimp beads. I cut a length of beading wire about twice as long as I needed, slid the crimp bead on and doubled the wire through. Use pliers to crimp down. Now start beading. I made the necklaces about 9-10 inches and I styled them bases upon the person. I made some for our program attendants (younger girls), and their necklaces are smaller and less dramatic. Then when I was happy with the length and style, I slid another crimp bead on and doubled the wire through and clamped tight with pliers. Next I cut two 1 foot lengths of desired ribbon (we used 3/8'' white ribbon). DJ's mother hand sewed one end of the ribbon shut around the loop that the beading wire made on each end. Now they are ready to wear and each girl can tie to their desired length and fit.